
Closing on a new home is exciting, but the work isn't quite done yet. The first few weeks of ownership are the best time to look closely at the systems, surfaces, and small details you couldn't fully assess before moving in. Living in the space will reveal quirks that no inspection report ever captures. Catching issues early can save you thousands later and help you get to know your home in a way that pays off for years.
Find Your Shut-Offs Before You Need Them
The first thing every new homeowner should do is locate the main water shut-off valve, the gas shut-off, and the electrical panel. The main water valve is typically near the front foundation wall in a basement, near the water heater in slab homes, or in a utility closet or crawl space.
Test the valve by turning it off and back on so you know it works and exactly where it is. Do the same with the gas shut-off, which is usually located near the meter outside. Then open your electrical panel and label every breaker with the room or appliance it controls. Trust us, when a pipe bursts at 2 a.m., you don't want to be searching with a flashlight.
Test Every Outlet, Switch, and GFCI
Walk through the home with an inexpensive outlet tester, or simply a phone charger, and test every single outlet, switch, and ceiling fixture. GFCI outlets in kitchens, bathrooms, garages, and outdoor areas should trip and reset properly when you press the buttons.
Outlets that feel warm, look discolored, or don't hold a plug snugly should be evaluated by an electrician. Make note of any switches that don't seem to control anything, since some homes have orphaned wiring from past renovations that may need attention.
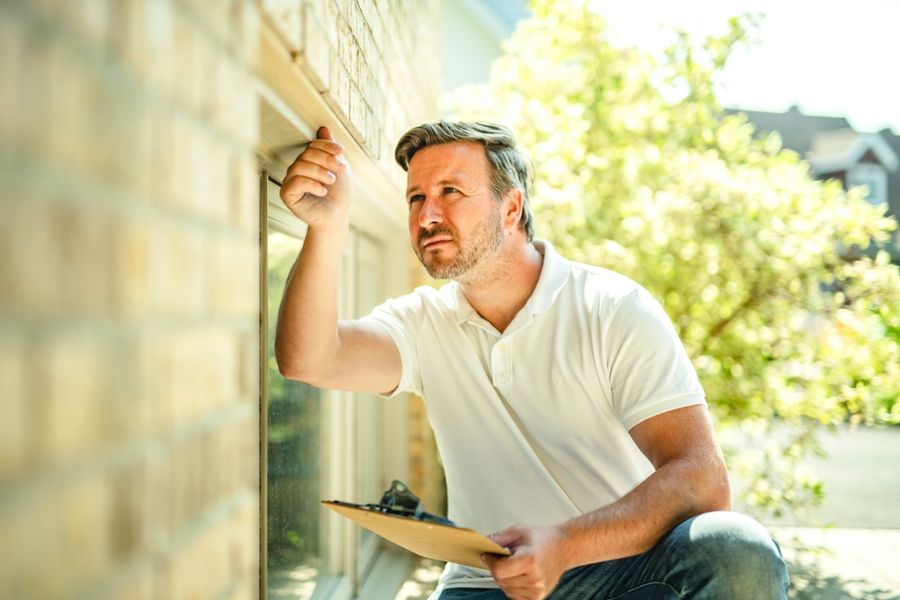
Look (and Smell) for Signs of Moisture and Mold
The U.S. Environmental Protection Agency emphasizes that controlling moisture is the single most important way to prevent mold growth. During your first weeks, pay close attention to bathrooms, basements, attics, kitchens, and any space below grade.
Watch for condensation on windows or pipes, peeling paint, water stains, soft drywall, and that distinctive musty smell. Also, check under every sink for slow drips. If you notice damp areas after a heavy rain, the issue may be drainage or grading outside the foundation, not just plumbing.
Check Your HVAC System Up Close
It's also wise to inspect the HVAC system closely. First things first, replace the air filter immediately, regardless of what the previous owner told you. Next, run the heat and the air conditioning through full cycles to listen for unusual noises, check airflow at every vent, and confirm the thermostat responds correctly.
Then, open the access panel on your furnace and look for rust, soot, or visible damage. If the system is more than 10 years old, or if you can't find any service records, schedule a tune-up with an HVAC professional during your first month so you have a baseline of the system's condition.
Examine Windows, Doors, and Weather Seals
According to ENERGY STAR, air sealing is one of the most cost-effective ways to lower utility bills and improve comfort. Testing seals on a windy day can be most helpful. Run your hand around the perimeter of every window and exterior door. If you feel a draft, the weatherstripping or caulk likely needs to be replaced.
It's also important to check that every window opens, closes, and locks properly. Test deadbolts on every exterior door. Don't forget the less-obvious openings like the attic hatch, dryer vent flap, mail slot, and any cable or pipe penetrations through exterior walls.
Walk the Roof Line and Gutters from the Ground
You don't need to climb up to inspect your roof. Stand a few yards back and look for missing or curled shingles, areas where the line dips or sags, and any vegetation growing on top.
Walk the perimeter and confirm gutters are securely attached, downspouts route water at least three to five feet away from the foundation, and there's no visible water staining, peeling paint, or rot around fascia boards. After the first heavy rain, step outside and watch how water actually flows around your home, including where it pools.
Test Every Appliance and Plumbing Fixture
It's also important to test your appliances and plumbing. Run every faucet, flush every toilet, and run a full cycle on every major appliance, including the dishwasher, washing machine, and oven. Be sure to check under appliances for leaks afterward.
Test water pressure at the highest sink in the home, since low pressure there can hint at larger plumbing issues. Run the garbage disposal, test all garage door functions, including auto-reverse safety sensors, and confirm the water heater delivers hot water within a reasonable amount of time at every fixture.
Pay attention to drain speed in tubs and showers, too. A sluggish drain can indicate a partial clog that's easier to address now than after months of hair and soap buildup. Finally, check the temperature setting on the water heater itself. 120 degrees Fahrenheit is the sweet spot for safety and efficiency.
A Final Walk Through
Take notes as you go and keep a running list of small fixes, professional follow-ups, and questions for your home warranty if you have one. Many issues are easier or cheaper to address within the first 30 to 60 days of ownership, so document anything that seems off, even if you're not sure it's a real problem yet.
Inspecting your home in detail during these early weeks will help build familiarity with the place you'll live for years. The more you understand your home now, the easier every season of ownership will be.